-
Shop
- Adidas
- Advanced Technologies
- Apple Accessories
- Armani Fashion
- Arts, Crafts & Hobbies
- Beauty & Skincare
- Best-Sellers
- Calvin Klein Fashion
- Car Accessories
- Dating & Social Skills
- Drones
- Education & Learning
- Electronics
- Emotional Intelligence
- Family & Parenting
- Fashion
- Alexander McQueen Fashion
- Bags
- Bags & Wallets
- Balenciaga Fashion
- Belts
- Blazers
- Blouses & Shirts
- Bottega Veneta Fashion
- Bottoms
- Brunello Cucinelli Fashion
- Burberry Fashion
- Chanel Fashion
- Chloé Fashion
- Dior Fashion
- Dolce & Gabbana Fashion
- Dresses
- Etro Fashion
- Fendi Fashion
- Gucci Fashion
- Hats & Hair Accessories
- Hoodies & Sweatshirts
- Jacquemus Fashion
- Jewelry
- Jil Sander Fashion
- Jimmy Choo Fashion
- Kiton Fashion
- Luggage
- Luggage Bags
- Men's Fashion
- Miu Miu Fashion
- Off-White Fashion
- Outerwear
- Prada Fashion
- Rick Owens Fashion
- Saint Laurent Fashion
- Scarves
- Shoes
- Skirts
- Socks & Tights
- Sunglasses
- Sweaters & Cardigans
- The Row Fashion
- Tom Ford Fashion
- Tops & Shirts
- Trousers
- Valentino fashion
- Valentino Garavani Fashion
- Versace Fashion
- Vivienne Westwood fashion
- Watches
- Fashion Accessories
- Finance & Career
- Fitness & Movement
- Gadgets
- Gift Ideas
- Gifts
- Guess Fashion
- Health & Beauty
- Health & Wellness
- Home & Garden
- Home & Lifestyle
- Home Supplies
- Hormone & Women’s Health
- Kids & Babies
- Massagers
- Mindset
- Mindset & Personal Growth
- Nike Fashion
- Nutrition & Healthy Eating
- Patio, Lawn & Garden
- Personal Growth
- Pet Care
- Pet Supplies
- Pets
- Productivity
- Relationships & Social Confidence
- Samsung Accessories
- Self-Care & Mental Well-Being
- Sleep & Rest
- Sport
- Sport & Outdoors
- Style & Fashion
- Summer 2025 Fashion Collection
- Super Deals
- Tesla Accessories
- Tommy Hilfiger Fashion
- Travel
- Travel & Outdoors
- Video Games
- Wealth
QuickFix Leather Repair Liquid: Fix Scuffs in Cars & Gear
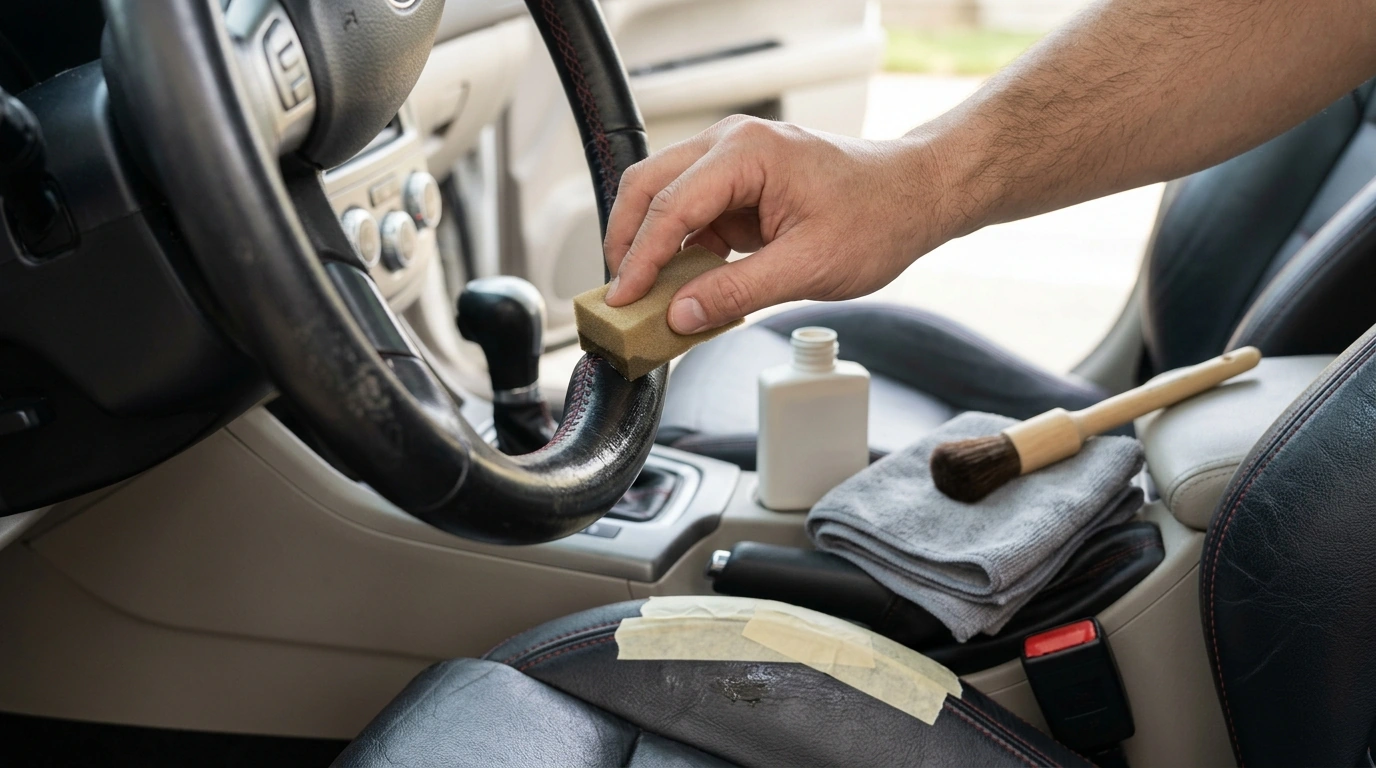
QuickFix Leather Repair Liquid for Car Interiors and Leather Apparel
Scuffs, light cracks, and surface wear can make leather look older than it is. QuickFix Leather Repair Liquid is a simple maintenance solution designed to refresh the look and feel of commonly used leather surfaces in autos and everyday wear—without complicated tools. With the right prep and a patient, thin-layer approach, you can improve the appearance of steering wheels, seat edges, jacket cuffs, and more while keeping the finish looking natural.
What it’s for (and what it’s not)
Leather repair liquids are best used as cosmetic touch-ups and finish refreshers—not as a replacement for upholstery reconstruction. Knowing the boundary between “surface wear” and “structural damage” saves time and helps set realistic expectations.
- Best for surface-level wear: small scuffs, light scratches, dryness, and dull areas on finished leather.
- Useful on frequently handled spots: steering wheels, seat edges, armrests, jacket cuffs, bag corners, and shoe uppers (smooth leather).
- Not a substitute for structural repair: deep tears, missing chunks, severe cracking, or seam splits usually need a filler/patch or professional repair.
- Results vary by leather: the leather type and condition of the finish coat matter; always test on a hidden area first.
Leather types and surface checks before applying
Most car interiors and many jackets use coated (finished) leather, which tends to respond well to cleaning plus thin, controlled applications of a surface repair liquid. More porous leathers can behave differently, so a quick identification step helps avoid surprises.
- Identify the finish: finished/coated leather is common in vehicles and many fashion pieces; it typically allows smoother blending.
- Avoid suede/nubuck unless approved: these leathers have a nap and require dedicated products and techniques.
- Check for color transfer: rub lightly with a white cloth; if dye transfers easily, proceed carefully and spot test.
- Cleanliness matters: oils, silicone dressings, and grime can block adhesion and cause patchy results.
Quick compatibility guide (do a spot test first)
| Material | Typical result | Notes |
|---|---|---|
| Finished/coated leather (auto seats, many jackets) | Most compatible | Clean thoroughly; build in thin layers for smoother blending. |
| Aniline leather (more absorbent, natural look) | Varies | May darken or absorb unevenly; test in an inconspicuous area. |
| Bonded leather | Limited | Surface may continue flaking; repairs can be temporary. |
| PU/faux leather (synthetic) | Varies | Adhesion depends on topcoat; test first and avoid heavy buildup. |
| Suede/nubuck | Not recommended | Needs dedicated suede/nubuck products. |
Prep work that makes the finish look cleaner
Prep is where most “professional-looking” results come from. If the surface is even slightly oily or dusty, the product can bead up, streak, or cling unevenly—especially on steering wheels and armrests.
- Remove dust and grit with a soft brush or microfiber to prevent dragging particles across the surface.
- Degrease gently with a leather-safe cleaner; for auto interiors, focus on headrests and armrests where skin oils build up.
- Let the leather dry fully before application; moisture can cause streaking or reduce bonding.
- Mask surrounding fabric or stitching on car seats and panels if a crisp edge is needed.
For general care guidance and material behavior, resources like the Leather Conservation Centre and the American Leather Chemists Association (ALCA) are helpful references.
How to apply for car interiors
Car leather takes constant abrasion, temperature swings, and skin oils. A slow, thin-layer approach helps repairs blend into the surrounding finish instead of sitting on top like a visible patch.
- Work in good light to see edges of scuffs and blend lines as they form.
- Apply in thin layers rather than one heavy coat to reduce visible transitions.
- Use gentle, even strokes; keep pressure consistent across the worn area and slightly beyond it for blending.
- Allow adequate dry time between layers; rushing can trap moisture and create tackiness.
- After curing, lightly buff with a clean microfiber to even out the sheen (if appropriate for the finish).
If you’re working indoors, basic airflow matters when using any chemical product; OSHA’s general guidance on ventilation is a practical reference point.
How to apply for jackets, bags, and other leather apparel
Wearables need flexibility. The goal is to improve the look of friction spots while keeping the material comfortable and avoiding a stiff “painted” feel.
- Support the material from behind (hand inside a sleeve, towel under a bag panel) to prevent stretching while applying.
- Focus on high-friction zones: cuffs, collar edges, pocket corners, strap contact points, and elbow creases.
- Blend outward from the center of the worn area to avoid a sharp border.
- Let the item rest flat while drying to reduce transfer onto other fabrics.
- After the surface is set, consider a light conditioner suited to the leather type to maintain flexibility (avoid over-conditioning on coated leather).
Getting a natural look: color and sheen matching tips
Common issues and quick fixes
Care and storage for longer-lasting results
Related picks (in stock)
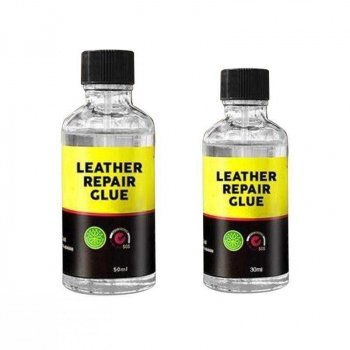
- QuickFix Leather Repair Liquid: Auto & Apparel Leather Maintenance Solution
- Women’s Beige Faux Fur Jacket
- Vans Women’s Pink Hooded Jacket
FAQ
How long does it take to dry and cure?
Dry time is often quickest in thin layers (typically surface-dry within minutes to an hour), while full cure can take longer depending on humidity, temperature, and how much product was applied. For best durability, wait longer before heavy handling or high-friction use (like gripping a steering wheel).
Can it be used on faux leather or PU leather?
It can work on some faux/PU leathers, but results vary widely by the synthetic topcoat. Do a spot test, apply very thin layers, and stop if you see lifting, peeling, or poor bonding.
Will it fix deep cracks or tears in car seats?
Deep cracks, tears, missing material, or split seams usually need a filler/patch kit or professional upholstery repair. A repair liquid is better suited to surface wear and cosmetic touch-ups where the structure underneath is still intact.
Recommended for you

Was this article helpful?
Yes
No








Leave a comment